In my last blog, I outlined how to start K8S deployment by configuring a private Git repository in Argo CD. This blog will teach how to deploy any application into multiple Kubernetes clusters and how to do GitOps-style delivery.
The topics will be interesting for those DevOps or infrastructure engineers working in enterprises whose business is dependent on modern infrastructure. For instance, there are a lot of resources like 50+ clusters spread across clouds, 200+nodes, 2000+cores, and lots of computing and storage resources, etc. Now let us discuss how you can configure Argo CD to deploy into the Kubernetes cluster in another cloud or data centre.
Before you begin
You need to have two Kubernetes clusters, where one of the clusters will have Argo CD installed. And you need to have access to the Kubeconfig files for both clusters. Usually, in large enterprises, DevOps engineers or platform engineers should have access to all the Cluster Kubeconfig files for configuring Argo CD to access the clusters and deploy applications to namespaces in those clusters on demand.
Secondly, you need to have a kubectl command to communicate with your clusters. For demonstration, I have used minikube, but you can use any Kubernetes playgrounds such as Killercode.
Steps to deploy into multi-cluster using Argo CD
We will access multiple clusters by configuring files. If you are interested, you can learn how to access clusters using configuration files.
Below are the steps for deploying applications into multi-clusters.
Add a newly created cluster to Argocd using ArgoCLI
- Create a new cluster in another machine or cloud. I have created a new cluster called argocd-cluster (in my machine), which we will try to configure in the ArgoCD application. My Argo CD is installed in a cluster called Ninja-cluster.
- Login to the argocd server from CLI using the following command:
argocd login --sso argo29.ninja-test.opsmx.net
Note: we are logged into Argo CD installed in Ninja-cluster.
3. Since I have access to kubeconfig of argocd-cluster, I will export using the following path
export KUBECONFIG="${KUBECONFIG}:/home/user/.kube/argocd-cluster.txt"
4. We will then extract the context name from cluster kubeconfig to
kubectl config get-contexts -o name

5. Add cluster the new cluster argocd-cluster by adding the context to Argocd using the following command in Argo CLI
argocd cluster add argocd-sa-default-gke_development-project-210505_us-central1-c_argocd-cluster
You may get a few warnings like below, but you can ignore them.
OUTPUT:-
WARNING: This will create a service account `argocd-manager` on the cluster referenced by context `argocd-sa-default-gke_development-project-210505_us-central1-c_argocd-cluster` with full cluster level privileges. Do you want to continue [y/N]? y
INFO[0008] ServiceAccount “argocd-manager” already exists in namespace “kube-system”
INFO[0009] ClusterRole “argocd-manager-role” updated
INFO[0009] ClusterRoleBinding “argocd-manager-role-binding” updated
WARN[0013] Failed to invoke grpc call. Use flag –grpc-web in grpc calls. To avoid this warning message, use flag –grpc-web.
Cluster ‘https://3xxxxxxxx’ added
6. Now you can execute the below command to list all the clusters added in Argocd. This is to verify if argocd-cluster is successfully added.
argocd cluster list
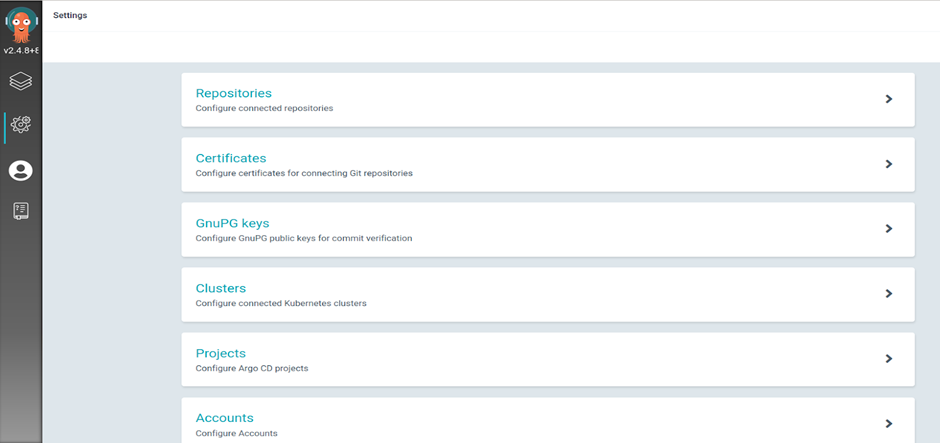
Alternatively, you can also go to the UI and check under Settings-> Cluster to verify if the new cluster is added.
After a cluster is added to Argo, you can deploy apps as usual. The deployment method is simple; we have covered it in my previous blogs. There are 6 essential sub-steps-
- Provide input by configuring public/private Git repo
- Select the destination cluster
- Provide a namespace for deployment
- Validate YAML
- Create an application
- Sync your application for deployment.
If you are new to Argo CD deployments, you can continue to follow the process.
Deploy an application to the newly added cluster
I will deploy Nginx to the newly added argocd-cluster. The deployment is in a private repository- https://github.com/OpsMx/argo-sample-apps.git.
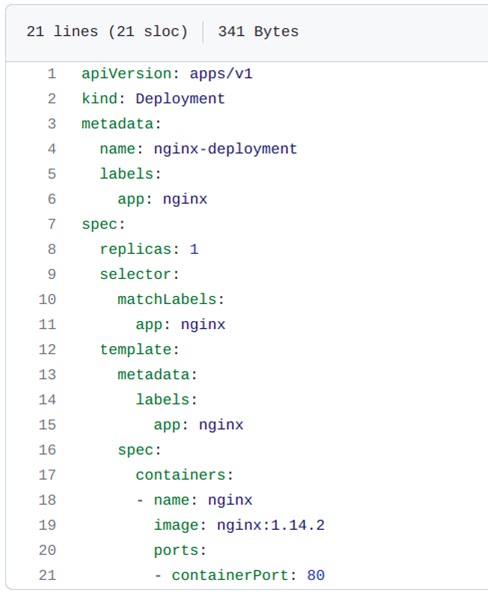
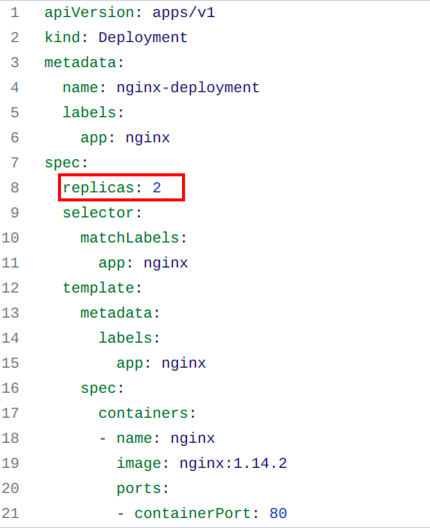
You can find a quick snapshot of the Nginx-Deployment file below. Please note that we have mentioned the replicas as one under specification. This means only pod will be created after the deployment of the application.
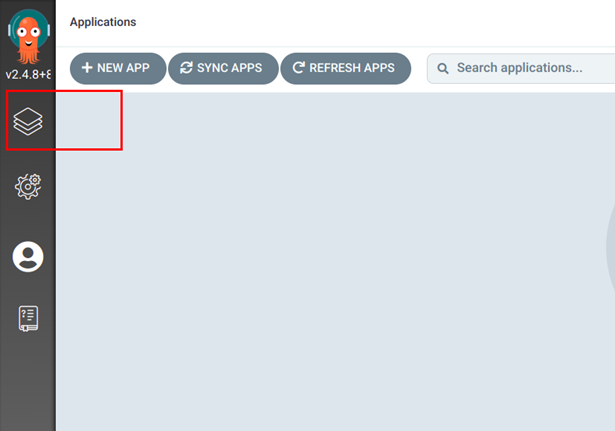
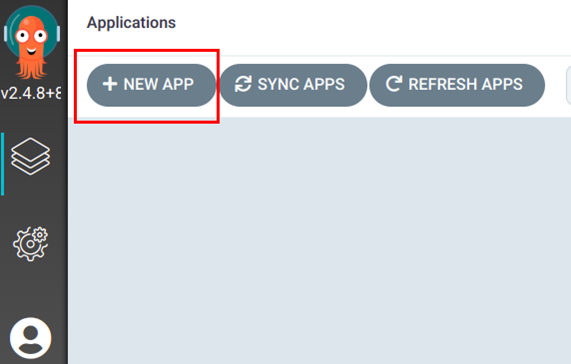
1. In the first step, one has to Login to the Argocd and create an application. Refer to the screenshot below.
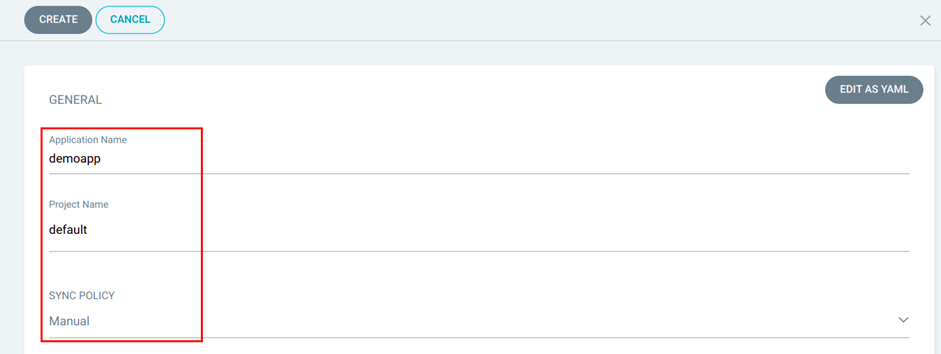
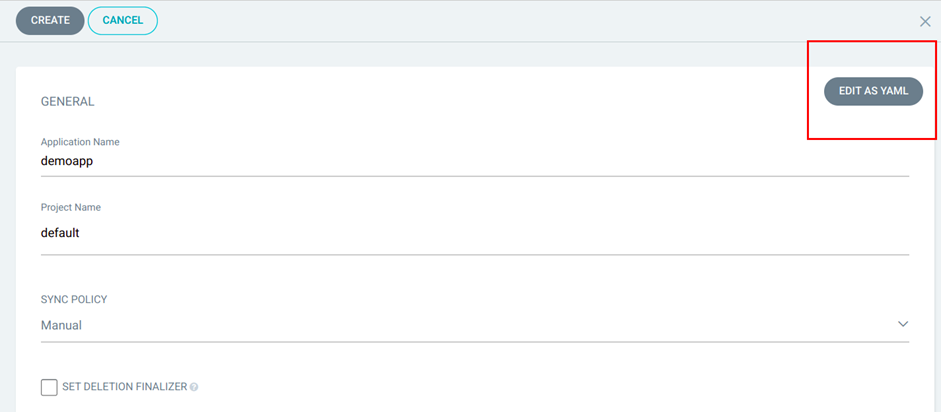
2. You can fill in the parameters- Application Name, Project Name, and SYNC POLICY.
You can choose SyncPolicy as manual or automatic (auto sync based on repo commits)
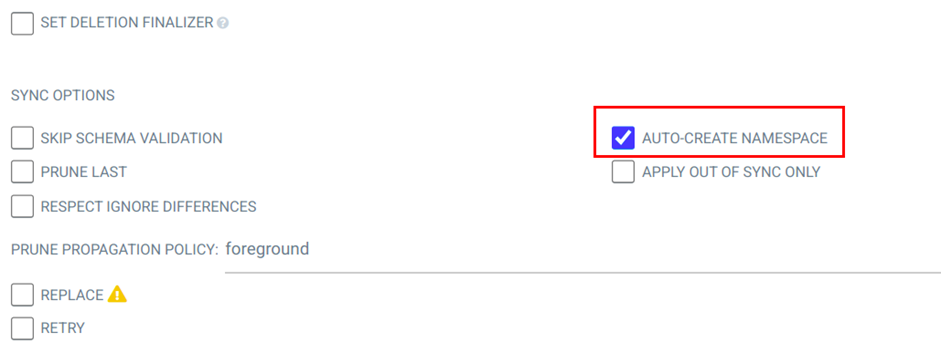
3. We shall select NAMESPACE AUTO-CREATE, to create a namespace based on the data we will provide in the next step
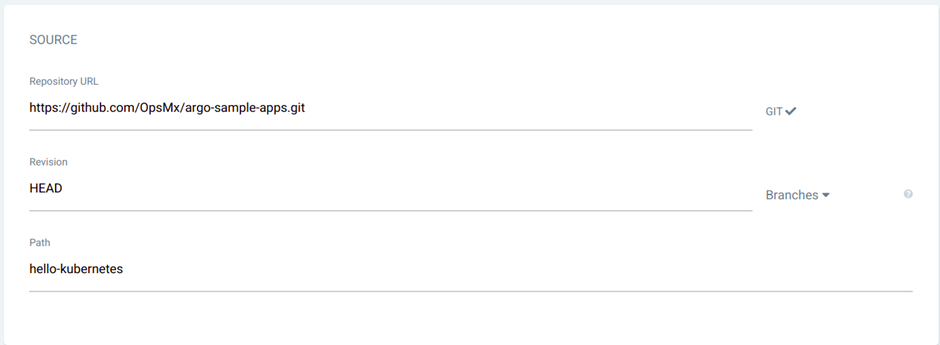
4. Specify the repo Repository URL (I’ve used the private Git repo), Branch and Path
5. Specify the cluster details and namespace to deploy your application. You can choose the newly added cluster URL. I have selected the cluster URL for argocd-cluster. You can specify a namespace to create a namespace (as we enabled autocreate).
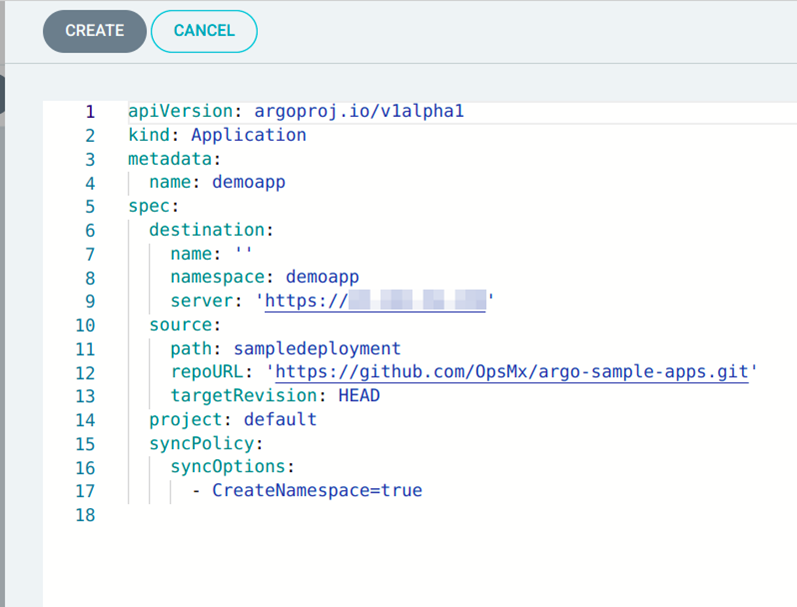
6. You can check the YAML file by clicking on the top-right corner to validate all the parameters and configurations.
7. Once you click on Create, your application will be created.
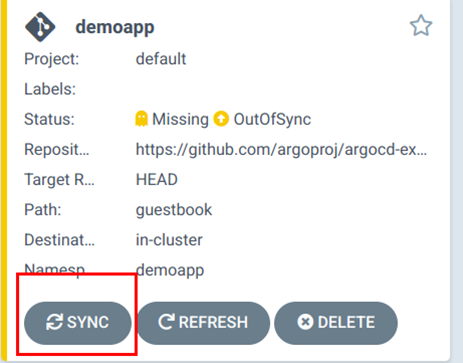
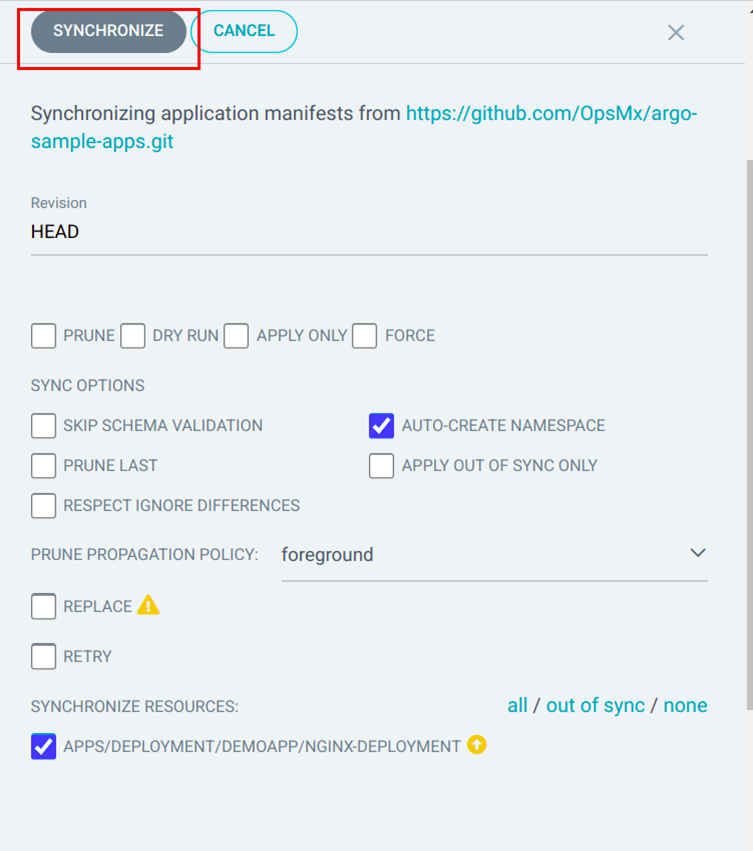
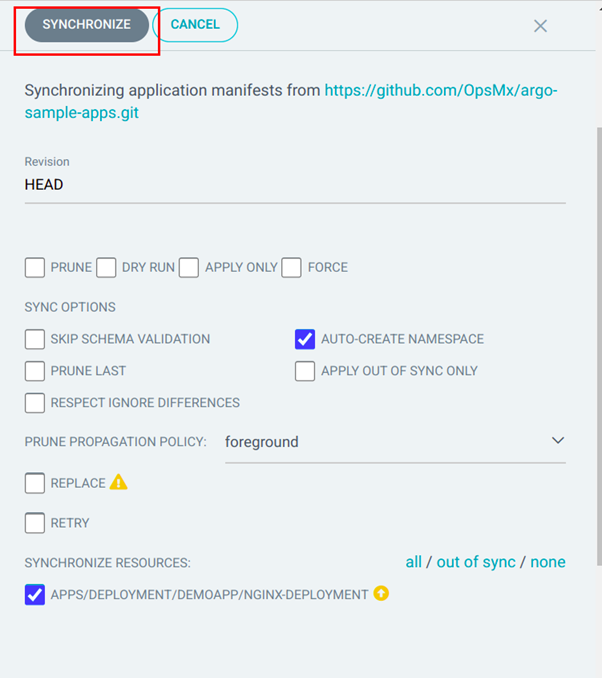
8. To deploy your application into the chosen Cluster, you need to Sync the application. If you have selected automatic under Sync, your application will be deployed automatically. Since I mentioned the manual, I will have to sync the application for deployment manually.
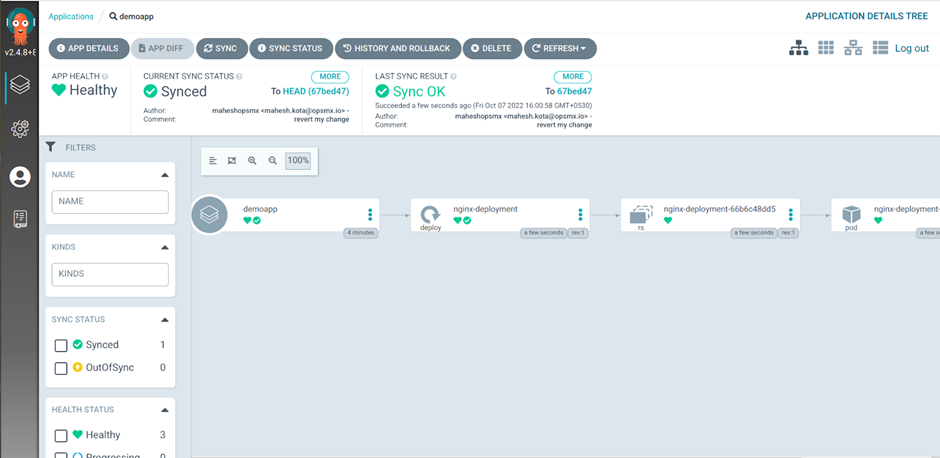
9. You can see the manifest files are deployed into the Cluster. As per the Deployment resource, only one pod for Nginx is created in the Cluster. You verify the deployment in your Cluster using CLI as well.
Synching manually with changes in the GitHub
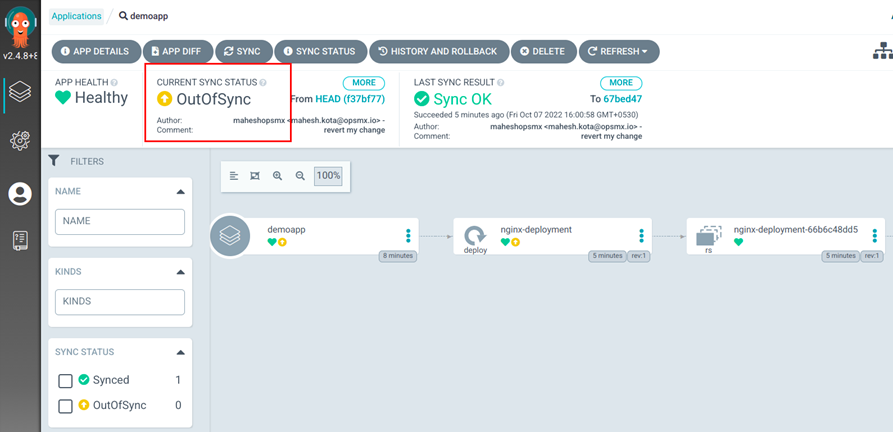
We will showcase how a slight change in the manifest file will lead to Argo CD notifying the ‘OutOfSync’ status in the UI. This is the core of GitOps, making source code management like Git the source of truth.
1. You can then change the value of replicas from 1 to 2 in the Nginx Deployment resources and commit in Git.
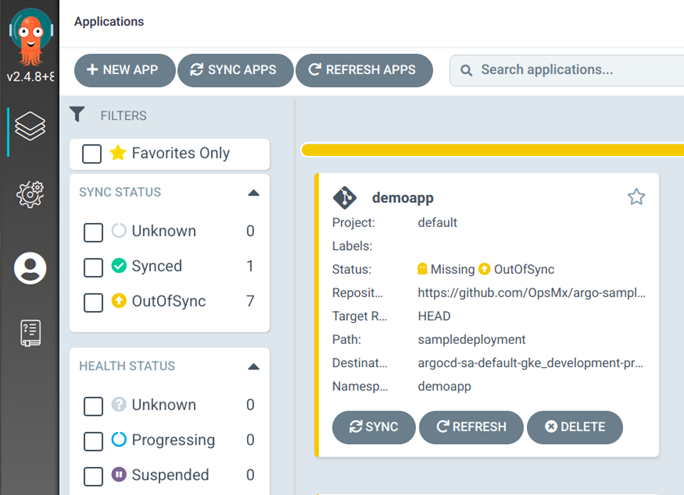
1. When you check argocd demo app application, you will find OutOfSync. If the Sync is manual, DevOps managers can take any action, such as allow.
2. To sync the application in the Cluster to the latest configurations in Git, you must manually sync to reflect the deployment changes.
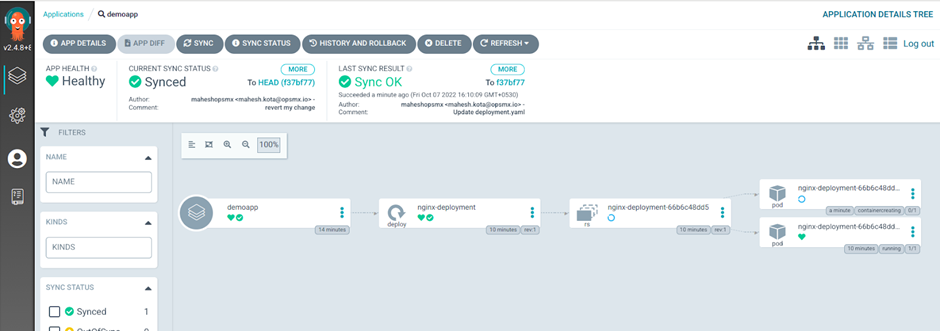
3. Upon sync, Argo CD will create two pods as specified in the replica specification.
Conclusion
Argo CD is suitable for practicing GitOps in small, medium, and large organizations. As you have observed, it is easy to attain multi-cluster deployments in Kubernetes. You can help developers provide a self-service platform with Argo CD, where they commit their changes and the deployment happens automatically to dev, test, or pre-prod environments.
If you want to start Argo CD without any hassle of application configurations or security setup, read more about OpsMx Intelligent Software Delivery (ISD) for Argo. Free trial for ISD for Argo is available here.
OpsMx also provides Argo Center of Excellence (COE) for enterprises needing expert services or consultation on Argo CD and Argo Rollout implementation to expedite their GitOps journey.
About OpsMx
Founded with the vision of “delivering software without human intervention,” OpsMx enables customers to transform and automate their software delivery processes. OpsMx builds on open-source Spinnaker and Argo with services and software that helps DevOps teams SHIP BETTER SOFTWARE FASTER.




0 Comments